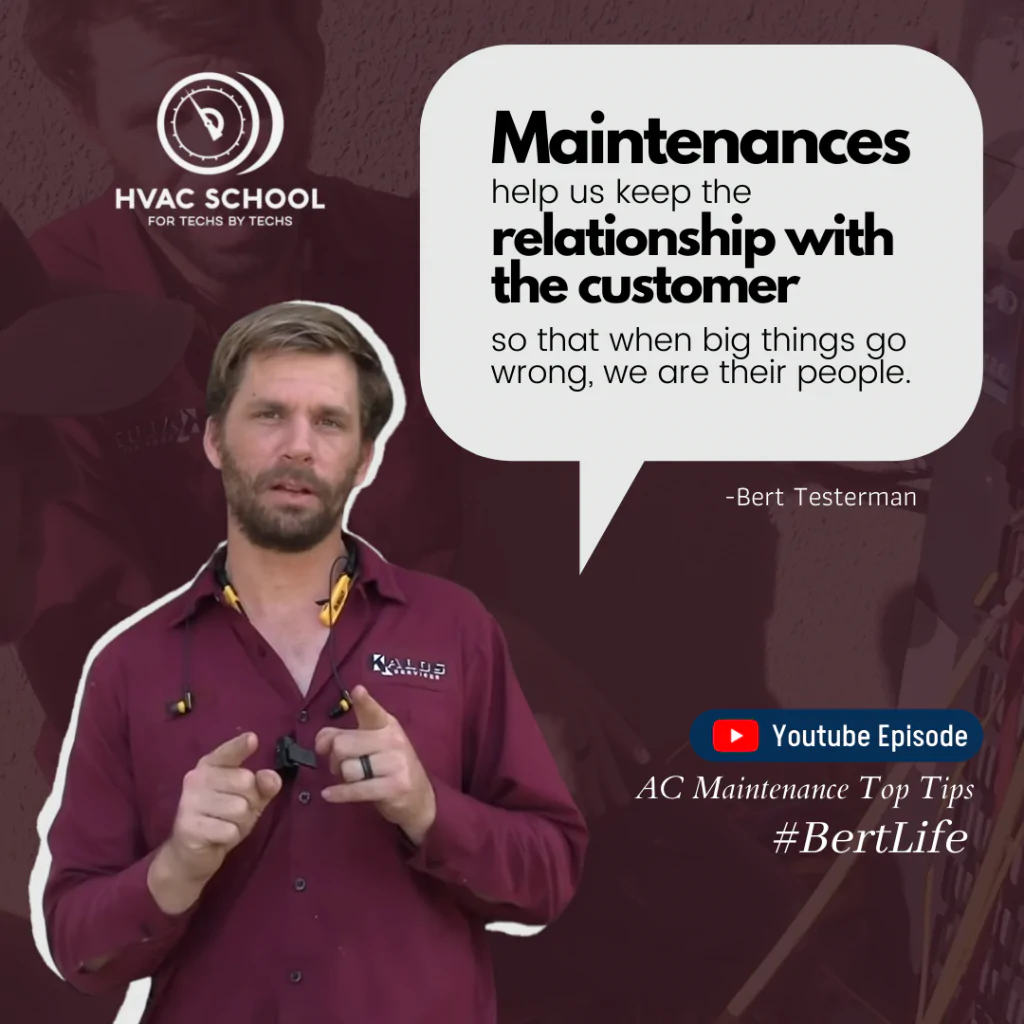


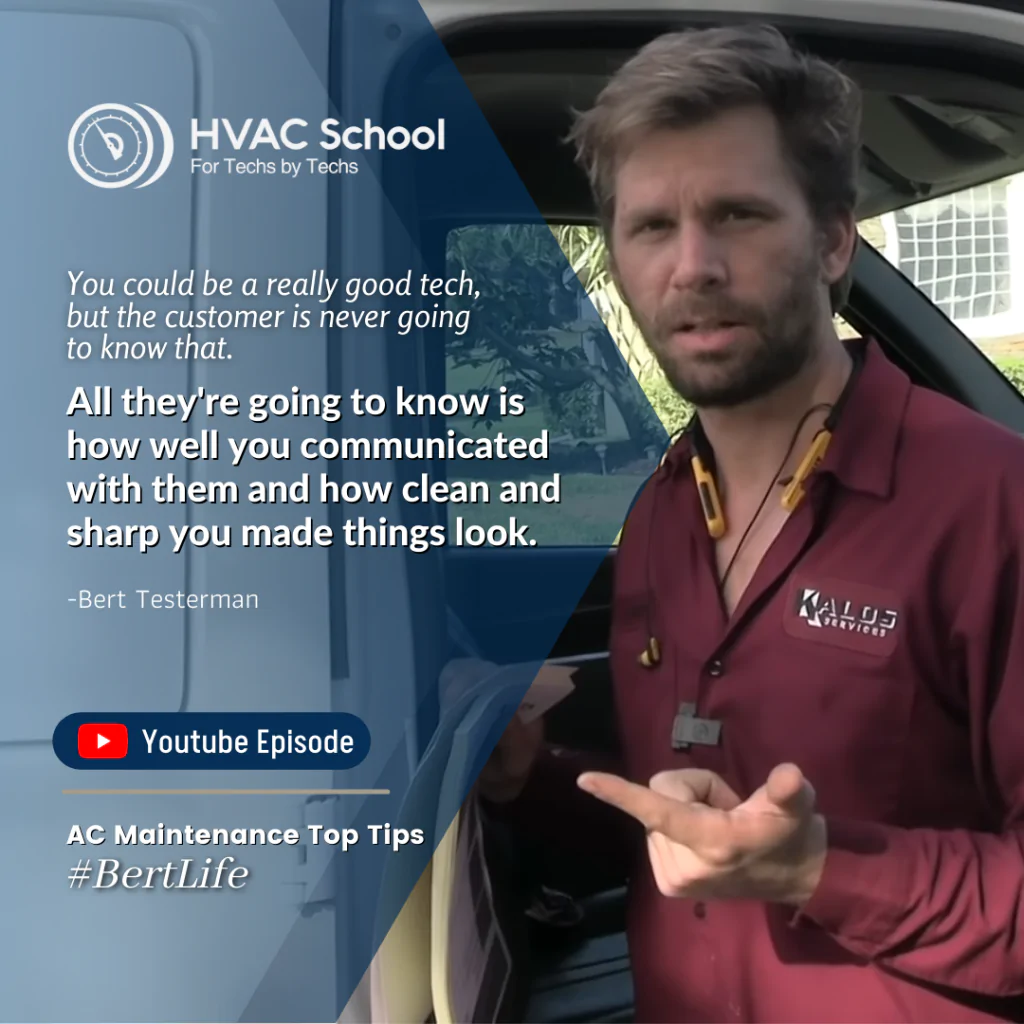
Bert Testerman, one of our senior technicians, recently made a video about his top residential A/C maintenance service tips. He showed some pretty good practices in there, so we’re going to revisit them in this article.
Maintenance procedures are vital to any HVAC business, especially those specializing in residential A/C. When we do maintenances, the customers see our faces, and when they’re satisfied with the service, they’ll know they can turn to us when they need help with big problems. On our end, maintenances give us opportunities to get familiar with our customers’ equipment so that we can better respond to those big problems when they arise.
Feel free to send this article to the newer guys and gals on your team. While these are solid tips for anyone, new techs can especially benefit from them. Here is how to do a residential A/C maintenance and keep doing good PMs for life:
Be courteous and professional BEFORE you even reach the job site
It’s a good idea to call the customer and give them a rough ETA so that they can prepare to let you into their home. That said, the minute you know you’ll be running late, let the customer know about it so that they can adjust their expectations and preparations.
When you pull up to the customer’s house, park somewhere appropriate. In most cases, it’s NOT appropriate to pull up on a customer’s lawn. It’s also best not to park on the driveway unless the customer gave you permission ahead of time.
When walking up to the customer’s home, try to stay on the sidewalk and show a sense of urgency. One of Bert’s top tips for the Kalos techs is to walk quickly; when you walk quickly, you look like you’re engaged, on a mission, and ready to work.
Once you reach the entryway, be sure to put shoe covers on before the customer lets you in. That way, your shoe covers are fresh and haven’t been exposed to any bugs or dirt from the sidewalk.
Remember: your first impression will set the tone for the maintenance and inform the customer’s opinion of you and the company. Always be polite and show respect for the customer’s property.
Communicate with the customer pleasantly and ask about their comfort levels
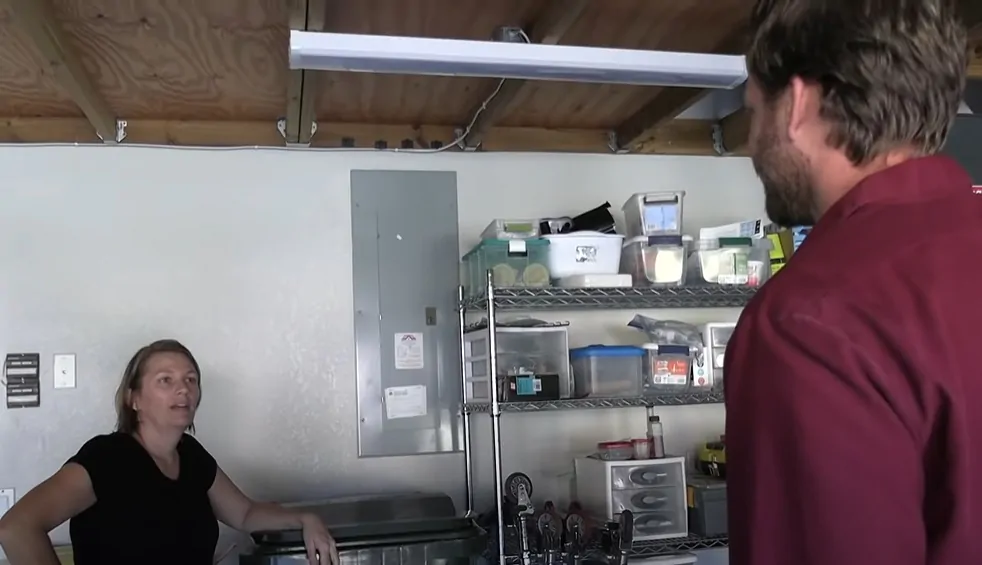
Customer service is a huge part of residential A/C maintenance. That’s because communicating with the customer accomplishes a lot of things. For one, it allows you to introduce yourself to the customer and make a good first impression. When you ask a customer if they’ve noticed any changes in their comfort, it lets them know that you care about them and want to make their lives better.
However, that initial communication can let you know what to expect during the maintenance. If a customer has experienced some problems, they have an opportunity to tell you. You might be able to prepare to encounter dirty coils or a filter in the wrong place based on that communication with the customer.
On a non-HVAC-related note, you can also ask if you need to keep certain gates or doors closed to keep pets or kids from running out. That, too, shows that you care about the customer and are conscientious.
Run the thermostat and thoroughly analyze the unit while it’s running
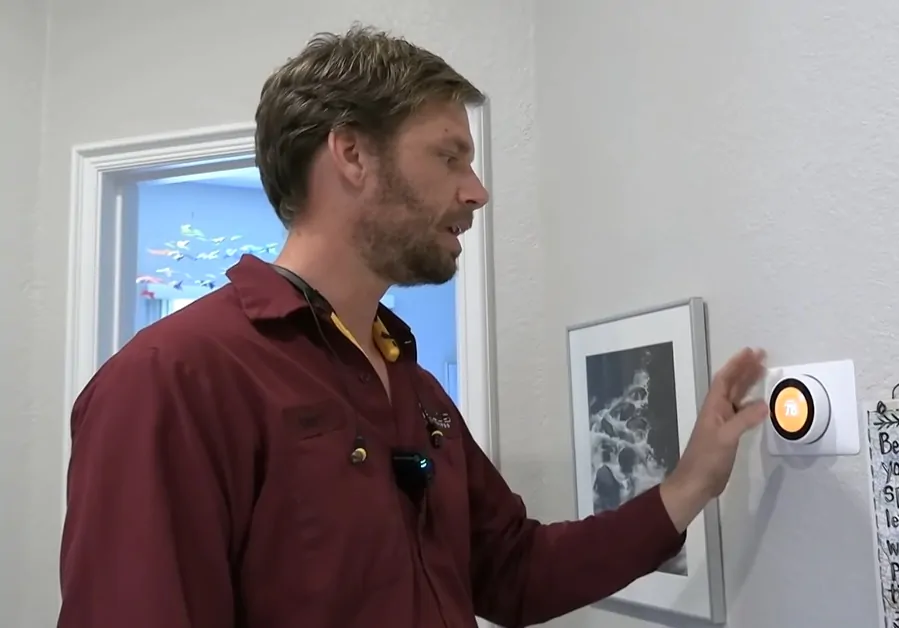
When you check the thermostat, you’ll want to check it in the mode that makes the most sense for the current or upcoming season.
For example, if you’re about to reach the colder days of fall and winter, you may decide to run the unit in heat mode. That also gives you a great opportunity to check the auxiliary heat (and the reversing valve if you’re working on a heat pump).
In any case, once the unit is running, you can look at the system and note any abnormalities. Has shrubbery grown too close to the outdoor unit? Is the panel or line set insulation coming apart? If you shine a light in the return, are there any blockages?
If you come across any issues, you can bring them up to the customer and then diagnose them before proceeding with the rest of the maintenance.
Residential A/C maintenance is not about getting in and out of the job site quickly; good technicians and contractors understand that. The maintenance is a chance for you to do a thorough checkup and get to know the system.
Condenser safety and thorough maintenance
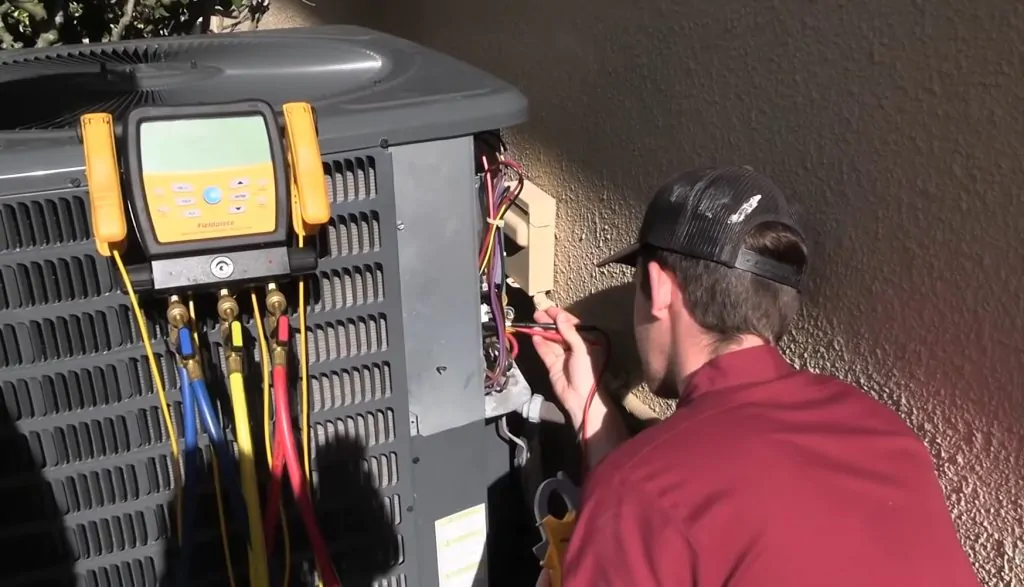
Before you touch ANYTHING electrical, make sure the power is off and that you can confirm that there’s no power. Make sure there’s no voltage between the electrical components and ground; YOU are ground, so if there’s no electrical potential between a wire and ground, then you can touch that wire safely.
You can take some time to inspect your electrical connections after you remove the panel. Contactor pitting is a common issue, especially when bugs get into the electrical panel and fry themselves.
The best way to get a THOROUGH cleaning is to take the condenser top off. Be careful when you set it down, as the blades can bend easily. With the top off, you can look for oil spots on the copper inside, check the compressor terminals for rust, and clean out all the leaves and dirt from the base of the condenser with a vacuum.
When it comes to washing the condenser, we only recommend using chemicals if the outdoor unit is very dirty; otherwise, water works just fine. We generally use Refrigeration Technologies Viper Heavy Duty or Condenser Venom Packs when we do need to use cleaner.
It’s best to wash beneath the condenser and the pad first so that the water has a place to go. When spraying a condenser, spray from the inside out. If you’re using cleaner, allow it to dwell on the coil for 5-10 minutes before rinsing it thoroughly.
When you put the top and panels back on, make sure not to pinch any wires. If a wire needs to run into a track or conduit, ensure that it does so.
Clean the drain assembly fully
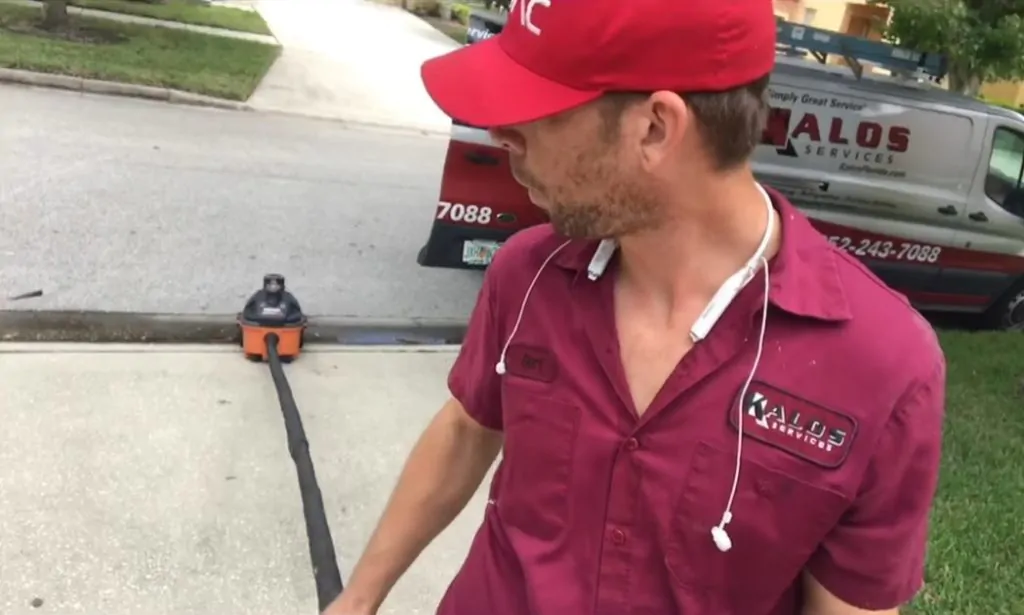
In many cases, you don’t need chemicals to clean out a drain assembly. A shop vac and some water will usually suffice for a residential A/C maintenance, especially if you’ve done previous maintenances on a system and know that it’s been thoroughly cleaned before.
Attach the shop vac to the drain outlet outside and turn it on. Then, when you go back to the air handler, flush a MINIMUM of two gallons of water through the drain pan. When you go outside and empty the vacuum, you can check the water condition to see how much grime you’ve flushed out.
It’s also a good practice to take a funnel and pour two gallons of water into the service port directly. Pouring water into the service port allows it to move through the drain with a bit more force, so you might get a more thorough cleaning.
Again, check the water condition and empty out the vacuum. If the water is VERY dirty, you may want to flush another gallon of water through the drain and see if the water gets clearer. If the water is pretty clear already, that’s a good indicator that the drain is clean.
Once everything is clean, you may want to add some extra sludge protection to the drain pan and bottom rows of the evaporator coil. We do that by adding a quick spray of Viper Pan & Drain Treatment.
Replace the filter and visually inspect EVERYTHING in the air handler
The air handler contains the evaporator coil, blower assembly, and lots of wiring, so there are many things to check after you replace the filter.
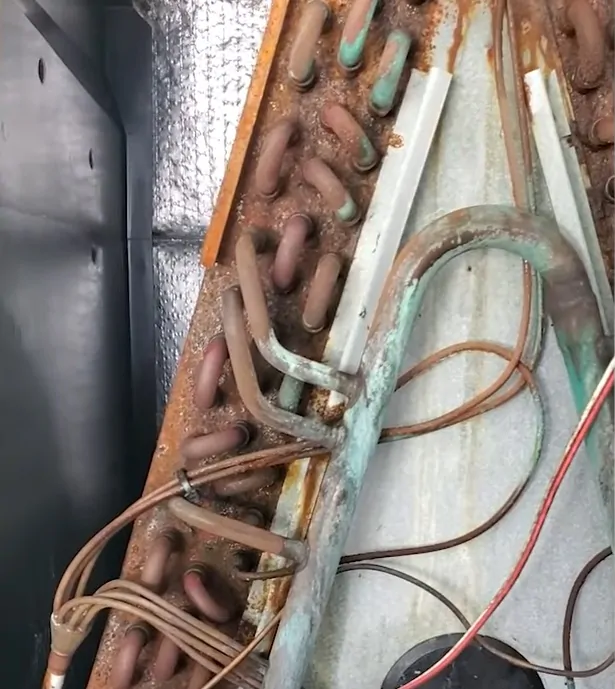
It’s a good idea to take a flashlight and thoroughly inspect everything inside (or use your phone, especially if you want to take a video of the system with the flash on). Check the blower housing for any dirt buildup; if there’s a substantial amount of dirt, you may want to talk to the customer about quoting a pull-and-clean if you haven’t already agreed to do that. There are a lot of wires, so you’ll want to make sure they don’t rub out on copper or aluminum coils, the air handler itself, or the blower housing. Check for corrosion on the aluminum or copper evaporator coils; galvanic corrosion is common and isn’t usually a huge deal, but formicary corrosion may indicate leaks. You can also check the panels for grime and potentially harmful growth.
Check the wire arrangements and connections. Do you have clean, tight connections? Are the wires kept away from the equipment and run through proper grommets? You’ll want to check the wire condition to minimize the probability of rubouts, which can lead to short circuits.
Clean the evaporator coil with an appropriate cleaner
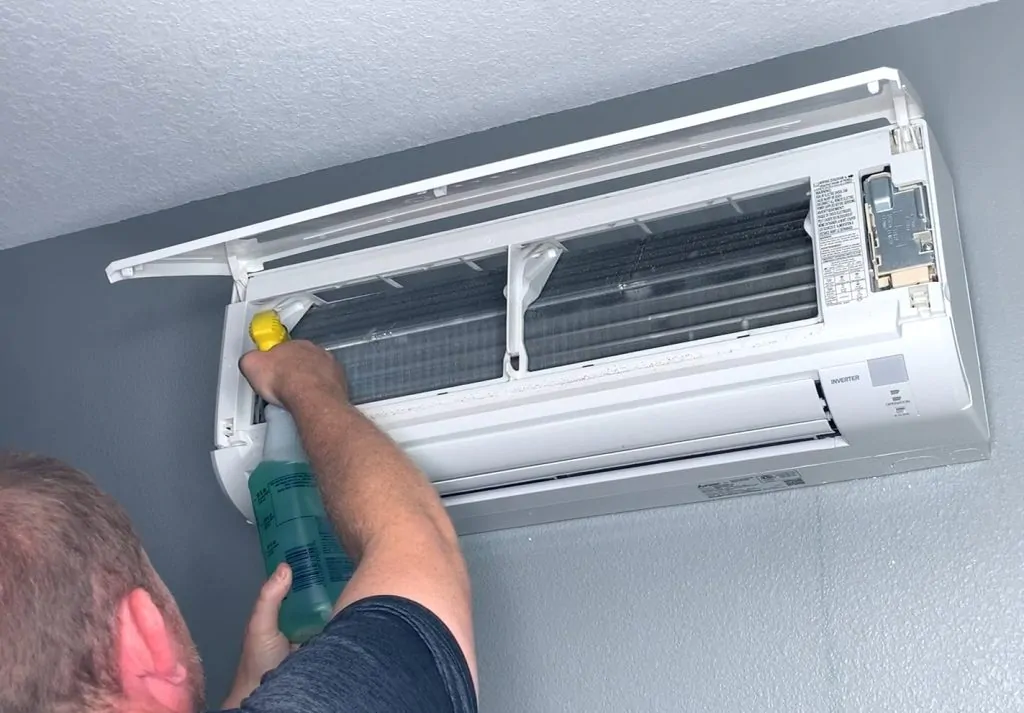
It’s no secret that we’re fans of Refrigeration Technologies Viper evaporator cleaners, including the EVAP+ and the Evaporator Venom Pack. We like using those because they are safe for the coil and are self-rinse, meaning that the natural condensation on the coil washes the cleaner off over time.
When choosing a cleaner, make sure it’s designed for use on evaporator coils and can self-rinse.
If the panels are dirty, then a safe evaporator coil cleaner may be able to help that a bit, too. Spray just a little fog layer on the panels and wipe them down well.
Check the panel condition
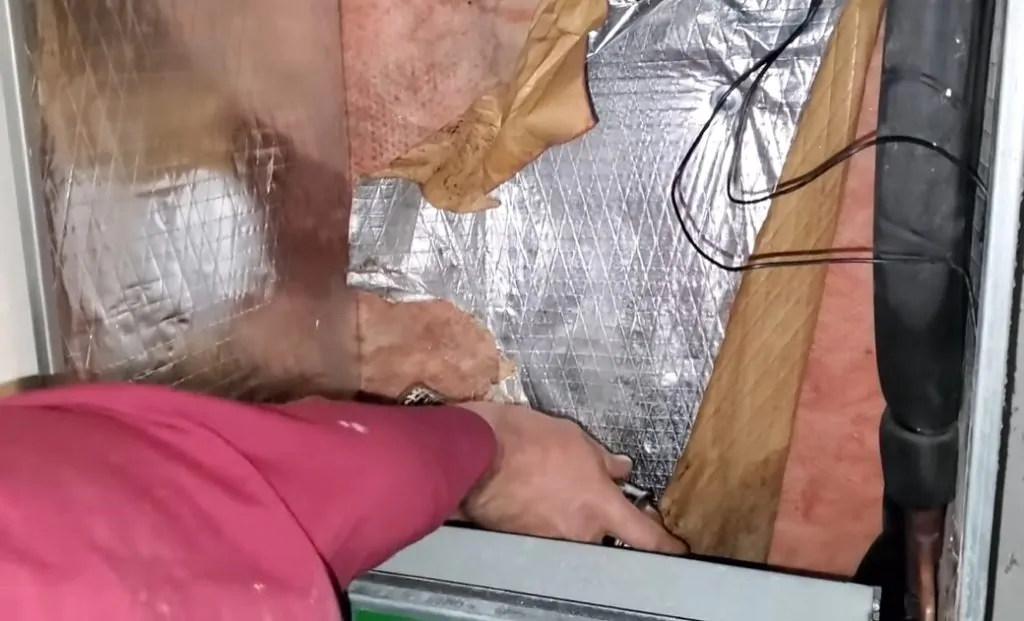
If the panel doors are filthy, give them a quick spray with a cleaner and wipe them down.
With the panel doors off, it’s also a good time to see if the panel insulation is peeling away and what sort of condition it’s in. If the insulation is torn or peeling, you can use some spray glue on a flat surface or silver tape along the edges (or in REALLY bad cases).
The same practices go for panel insulation on the inside of the air handler. If there’s a large, flat area where the insulation is peeling away, spray glue will usually be just fine. However, tears along the edges or in corners can be tricky. In those cases, you may just want to go straight for the silver tape, crease it a little, and stick it in the corners to keep the insulation anchored down.
Test the refrigerant charge LAST
The whole point of testing the refrigerant charge last is to test it on a clean system. With the drain, coils, and blower motor as clean as possible, you won’t have to worry about airflow restrictions due to soil buildup.
However, there is another benefit to testing last. You’ll be less likely to leave things behind if you clean everything and put it back into place before you check the charge. Otherwise, if you check the charge first and clean later, you’re more likely to leave wires out or fill the trap and fill the float switch along with it. In other words, you’re less likely to leave parts lying around or out of order if you clean everything first and test the charge last, which also lets you make sure the unit is running.
Finish up strong by testing the equipment, cleaning your work area, and communicating with the customer
Finishing strong is one of the best ways to make a good impression on the customer.
Letting the customer know that you’ve tested everything in cooling AND heating modes lets them know that they’ll be set for a change in the seasons. Make sure the unit runs and drains properly before you leave.
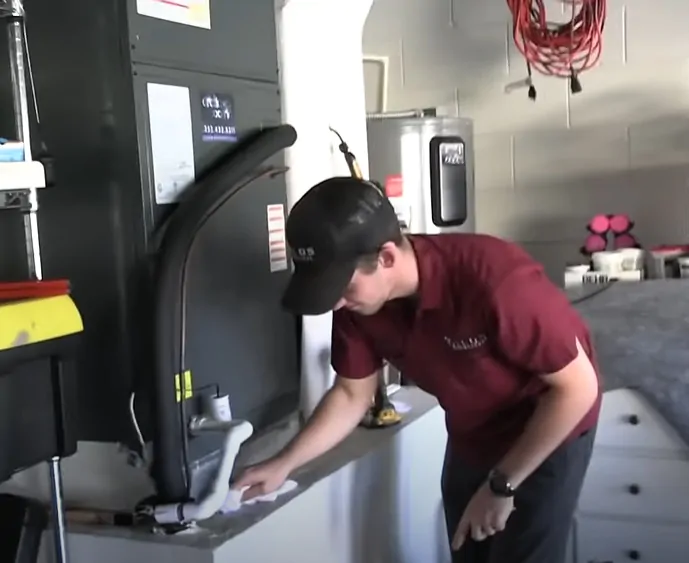
You can also go the extra mile and make the equipment look cleaner than when you found it. You might wipe off the face of the air handler or the air handler’s platform to make it look cleaner. The customer won’t know about your technical skills, but they can see a cleaner unit and notice a difference.
Thoroughly closing out the call is a MUST. Let the customer know everything you did and give them a chance to ask questions or request anything that could make the maintenance better. Then, once you’ve tested everything, cleaned up, and closed out the job with the customer, you’re good to go.
And that, my friends, is how you do a good residential A/C maintenance job. It’s all about taking your time, listening to the customer, and doing the very best job you can do.
Co-Founder and President at Kalos Services, Bryan Orr has been involved in HVAC training for over 13 years. Bryan started HVAC School to be free training HVAC/R across many mediums, For Techs, By Techs.
Contact Bryan by emailing bryan@HVACRSchool.com.
Visit https://hvacrschool.com – The place to learn some things you’ve forgotten along the way as well as remind you of some things you forgot to know in the first place.