We are working during a time in our industry that has machines equipped with “charge mode.”
 Manufacturers are designing their equipment with sensors, transducers, and boards to achieve the “optimum” charge. The board looks at pressures, temperatures, compressor and fan speeds to ensure the system is in the correct mode for charging. The only thing left for the technician to do is to “add” the refrigerant until the light tells us we’re done. It seems like the act of charging a system could become a lost art. In this month’s topic we will discuss charging a system without computer assistance.
In previous articles we have talked about leak detection, system evacuation and recovery, which all can play a role in the process of charging a system. Either we are starting a new system or opening the system to make a repair and then re-charging it. After a repair we typically pressurize with nitrogen for a standing pressure test. If we are on a new system start up, many companies will pressurize the lines during the equipment set phase. After the system passes the pressure test, we are ready for evacuation.
Recalling the previous articles on evacuation, remember it’s the microns we are concerned with, not necessarily the 29.92 in. Hg, that is when the work starts. In the micron scale, a perfect vacuum is 0 microns, and increasing pressure is represented by an increase in the measurement. Therefore, a measurement of 25,400 microns (the equivalent of 1 in. Hg or 28.92 in. Hg vacuum) is a higher pressure than 0 microns. Remember that inches of mercury (Hg) vacuum go up numerically with increasing vacuum (lower pressure), and micron measurements go down with increasing vacuum (lower pressure). In practice a good micron level to achieve is 500 microns.
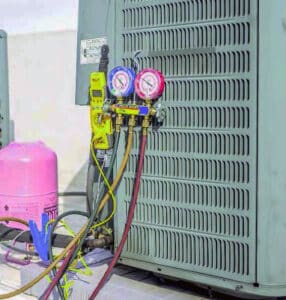 Once the vacuum is complete, we are ready to introduce refrigerant. Remember to break the vacuum with the refrigerant you are installing into the system. On a new system open the service valves. I open the vapor (suction) line first then the liquid line. I do this to limit the amount of oil that can be pushed out of the compressor, opening the suction line first provides some pressure on the system to limit the velocity of the refrigerant. Weighing in the charge is a preferred method. The weight is specified in the manufacturer’s literature; don’t forget to add the refrigerant line length to the equation. Remember to check the manufacturer’s literature to verify the specifics.
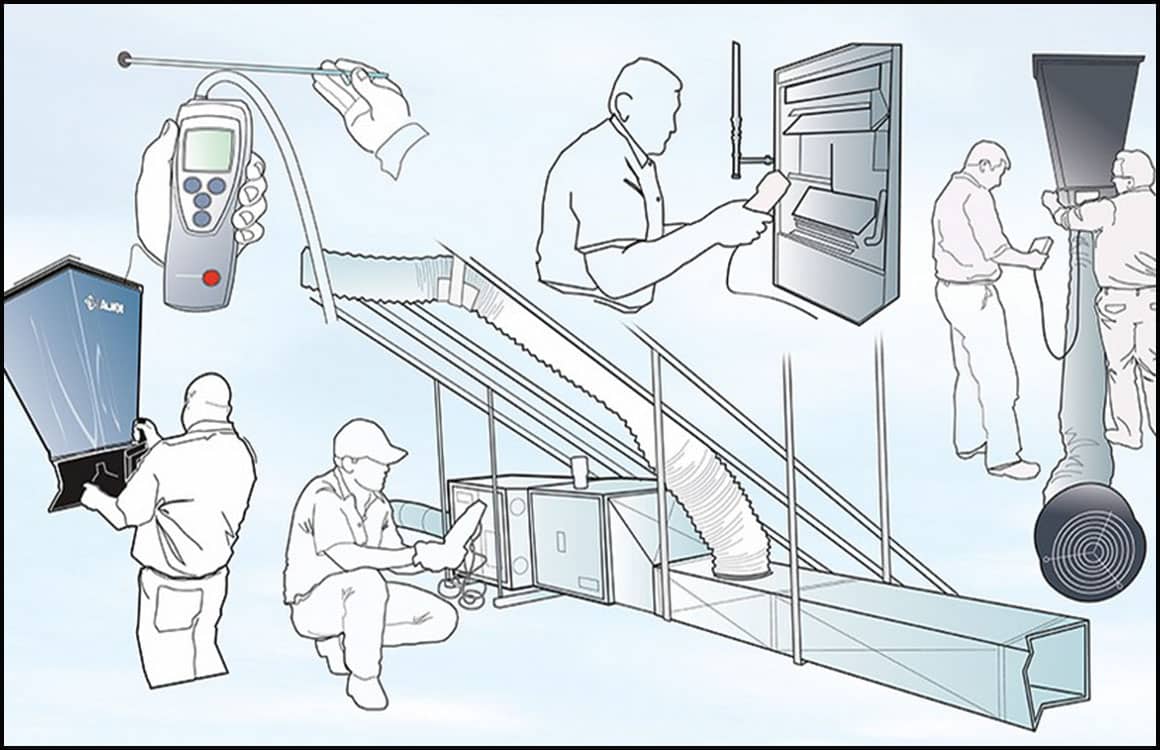
The next step is crucial, but I feel it’s sometimes overlooked: verifying the system’s airflow. We must verify the correct airflow before charging the system. Airflow settings should be verified, static pressure should be checked and checking the filter and ductwork for restrictions are all part of the charging process. The airflow must be correct for a correct charge. Think of the sensible capacity formula: 1.08 x CFM x ΔT; you can see the cfm, and along with the temperature (refrigerant charge), airflow is a significant value.
Once the system is operational, look at the subcooling and superheat. Remember to check both values even though it may have a TXV. Subcooling is used for charging; however, we use superheat to check TXV and coil performance. Take the time to allow the refrigerant charge to stabilize prior to making adjustments.
Things to consider are the entering air conditions both dry bulb and wet bulb temperatures. If there is warm air entering the coil your pressures will seem off. Allowing time for the refrigerant to stabilize will allow heat to be removed from the space and your pressures (and superheat) will fall in place.
The moral of the story is to not rush the process. Having good tools that you trust will help.
As always, stay safe in all you do!
Kelly McCann is an accomplished Heating, Ventilation and Air Conditioning (HVAC) professional with over 30 years in the industry. He has experience in several capacities; installation, service, service management, O.E.M technical support and territory management. Kelly has also provided professional instruction since 2000, teaching at the Florida Air Conditioning Apprenticeship Association. His current position is Retail Sales Manager at Custom Mechanical Inc. in West Palm Beach, FL.


